Freehand implant placement carries inherent clinical deviations that can compromise the final restoration. Relying solely on visual cues often results in suboptimal positioning. Digital implantology replaces this uncertainty with verifiable, prosthetically driven precision. Disconnects between surgical placement and prosthetic emergence profiles frequently lead to compromised aesthetics. They also increase the risk of biomechanical failures and extend patient chair time. Fragmented communication between the clinical team and the dental laboratory introduces compounding errors throughout the treatment process.
Implementing a standardized Guided Surgery Workflow bridges the critical gap between data acquisition, virtual planning, and surgical execution. This systemic approach ensures predictable outcomes from the initial scan to the final restoration. It optimizes the selection of Dental Implant Abutments and Prosthetic Components before the surgery even begins. By establishing a seamless feedback loop between the clinic and the lab, practitioners eliminate guesswork, reduce intraoperative stress, and deliver superior patient care.
Prosthetically Driven Precision: A verified guided surgery workflow shifts the paradigm from "bone-driven" to "prosthetically driven" placement, directly reducing restorative complications.
Data Integrity is Paramount: The success of the entire workflow hinges on the accurate superimposition (stitching) of DICOM (CBCT) and STL/PLY (Intraoral Scan) data.
Clinic-Lab Synergy: Standardized digital treatment planning (DTP) allows labs to pre-fabricate surgical guides and provisional restorations simultaneously, drastically reducing patient chair time.
Scalability vs. Investment: Transitioning to fully guided protocols requires evaluating the trade-offs between closed-ecosystem simplicity and open-architecture flexibility for hardware and software investments.
Defining the Guided Surgery Workflow: Success Criteria and Clinical Value
Problem Framing (Success Criteria)
A successful guided procedure relies on strict adherence to planned metrics. Clinical success requires achieving less than 1.5mm of apical deviation. It also demands less than 4 degrees of angular deviation compared to the virtual plan. Exceeding these tolerances compromises the restorative phase. Accurate placement ensures the implant integrates perfectly with the planned prosthetic trajectory. Maintaining these strict margins prevents catastrophic failures near vital anatomical structures like the inferior alveolar nerve or the sinus floor. You need a system that locks in these variables before the patient even sits in the chair.
Solution Categories
Different clinical scenarios require different levels of surgical guidance. Fully guided systems offer direct control over tissue management. Practitioners execute a guided tissue punch directly through the guide sleeve. Osteotomy preparation and final implant insertion are also controlled through the sleeve, dictating depth and angulation. Partially guided systems offer control over the pilot drill trajectory only. The clinician executes the remainder of the osteotomy and implant placement freehand. Dynamic navigation utilizes real-time optical tracking. Cameras track the handpiece and patient anatomy, offering an alternative to static surgical guides for complex access cases.
Evaluation Dimensions (ROI & Chair Time)
Adopting digital workflows requires evaluating upfront costs against long-term efficiency. Planning software, surgical guided kits, and guide fabrication require initial capital. However, these costs are offset by a significant reduction in active surgical time. Guided procedures result in fewer postoperative complications and reduced patient morbidity. The restorative phases become highly streamlined. Pre-planned components fit predictably, eliminating the need for extensive chairside adjustments. When you cut a 90-minute freehand surgery down to 30 minutes of guided execution, the return on investment becomes immediately apparent.
Phase 1: Data Acquisition and Patient Diagnostics (Clinic)
CBCT Scanning Protocols and Radiographic Guides
Accurate data acquisition begins with high-quality cone-beam computed tomography (CBCT). The Field of View (FOV) must capture the entire surgical site and relevant landmarks. Voxel size should be minimized to ensure accurate bone density assessment. Clear anatomical mapping of the inferior alveolar nerve and maxillary sinus is non-negotiable. For edentulous patients, a dual scan protocol is often required. This involves using radiographic markers or scan appliances to correlate the patient's anatomy with the proposed prosthesis. You cannot plan a precise surgery on a blurry or truncated scan.
Intraoral Scanning (IOS) and Soft Tissue Mapping
Intraoral scanners capture highly accurate STL or PLY files of the dentition. These scans map the soft tissue architecture with incredible detail. Proper isolation and moisture control are critical for accurate optical impressions. Saliva pooling will distort the mesh data. However, IOS has limitations in full-arch edentulous cases due to the lack of distinct anatomical landmarks. In these situations, photogrammetry becomes necessary. Specialized scan bodies or auxiliary physical models also help capture the exact tissue and implant positions when optical tracking loses its reference points.
Implementation Risks
Data merging can be fatally compromised by poor scan quality. Metal scatter from existing restorations creates artifacts in the CBCT data. These artifacts obscure vital bone topography and hinder accurate superimposition. Patient movement during scans also causes distortion. Clinicians must mitigate these risks by using artifact reduction algorithms. Ensuring patient stability during the scan is equally important for maintaining data integrity. If the DICOM and STL files do not stitch perfectly, the entire surgical guide will be misaligned, rendering the workflow useless.
Phase 2: Case Evaluation & Laboratory Handoff (The Lab Prescription)
Case Intake Requirements: What the Lab Needs to Know
A comprehensive laboratory prescription prevents costly miscommunications. The clinical submission must include all patient-specific diagnostic data. Clinicians must specify their implant system preferences and surgical guided kit specifications. Restorative goals must be clearly outlined. The clinic and lab must align on design parameters early. They must establish the preferred guide type, whether tooth, mucosa, or bone-supported. Sleeve dimensions and offsets must be finalized prior to the digital design phase. Missing data at this stage guarantees delays and remakes.
Determining the Restorative Intent
Surgical planning always begins with the end in mind. The lab must know the final prosthetic material to backward-engineer the implant positioning. Materials like zirconia, PMMA, or lithium disilicate dictate specific thickness and clearance requirements. The provisionalization strategy must also be defined upfront. The team must decide between immediate provisional loading and a delayed restoration approach. This decision impacts the design of the surgical guide and the pre-fabrication of provisional components. You cannot place an implant and then figure out how to restore it later.
Phase 3: Digital Treatment Planning (DTP) and Prosthetically Driven Design
Merging DICOM and STL Data
Digital treatment planning relies on the accurate fusion of different datasets. The software superimposes the CBCT bone data with the STL surface topography. This technical workflow requires aligning common reference points. Clinicians must perform software-specific verification steps to ensure stitching accuracy. Evaluating cross-sections of remaining teeth confirms the alignment. Checking anatomical landmarks ensures the soft tissue scan perfectly matches the underlying bone profile. If the outline of the teeth in the CBCT does not perfectly hug the STL mesh, you must restart the alignment process.
Virtual Implant Placement and Anatomical Considerations
Virtual implant placement optimizes both biology and biomechanics. Clinicians select the implant macro-geometry based on the available bone volume. Length and diameter are chosen to maximize primary stability while respecting anatomical boundaries. The planned restorative space dictates the vertical positioning of the implant platform. Proper virtual placement ensures the implant can support the final prosthesis without compromising the surrounding hard and soft tissues. You must leave adequate buccal bone and respect the biological width to prevent long-term recession.
Integrating Dental Implant Abutments and Prosthetic Components
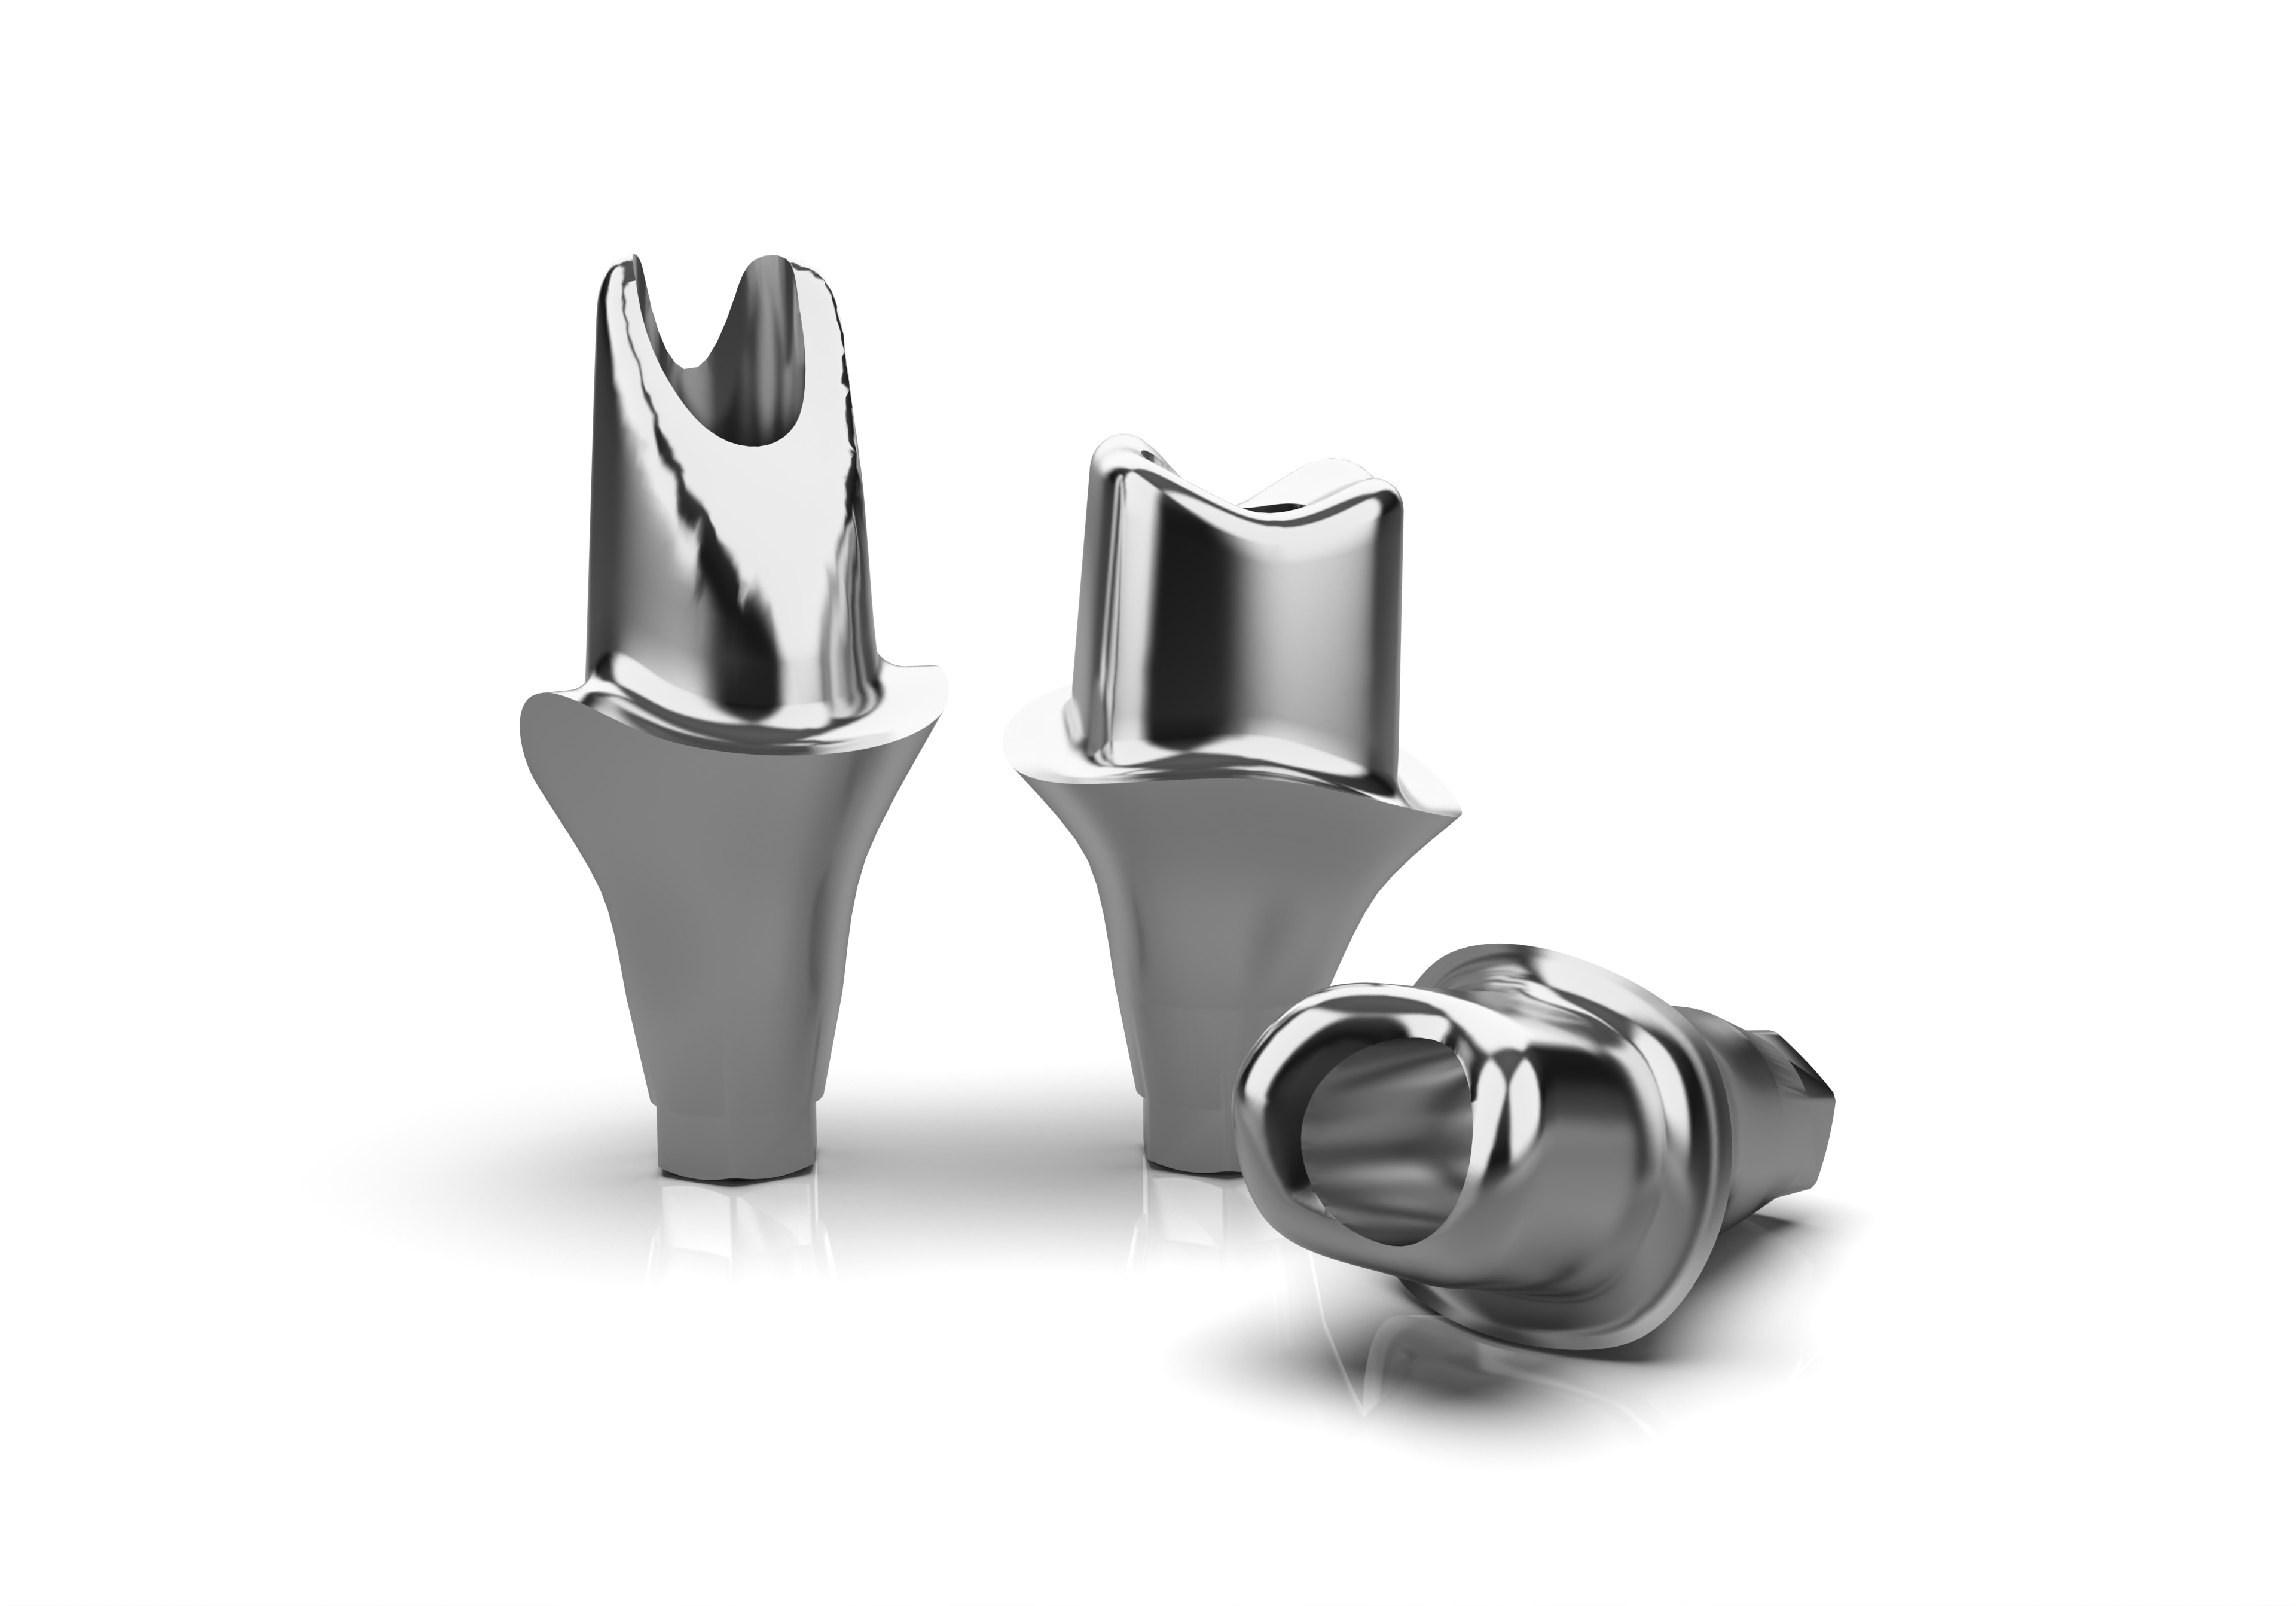
The planning phase must include the virtual selection of all restorative parts. Clinicians virtually position multi-unit abutments (MUAs) and titanium bases (Ti-bases). Custom abutments are designed to support the optimal emergence profile. Integrating the correct components prevents restorative failures. The team evaluates tissue height and screw-channel trajectory. Finalizing these details before surgery avoids aesthetic complications and structural weaknesses in the final prosthesis. If the screw channel exits through the facial incisal edge, the implant angulation must be corrected in the software.
Phase 4: Surgical Guide Design and Fabrication (Lab or In-House)
Guide Support Categories
Surgical guides are categorized by their supporting tissues. Tooth-supported guides offer the highest stability and accuracy for partially edentulous cases. Mucosa-supported guides are used for fully edentulous patients but require fixation pins to prevent movement. Bone-supported guides require extensive tissue reflection. Each category has specific indications based on the clinical scenario. The choice of support dictates the surgical approach and the design of the guide. A poorly supported guide will flex during drilling, destroying the accuracy of the osteotomy.
Guide Support Type
Primary Indication
Stability Level
Surgical Approach
Tooth-Supported
Single or multiple missing teeth with stable adjacent dentition
High
Flapless or minimal flap
Mucosa-Supported
Fully edentulous arches with healthy tissue
Moderate (Requires fixation pins)
Flapless (Tissue punch)
Bone-Supported
Severe atrophy or when bone reduction is required
High (Direct bone contact)
Full mucoperiosteal flap
Designing for Surgical Access
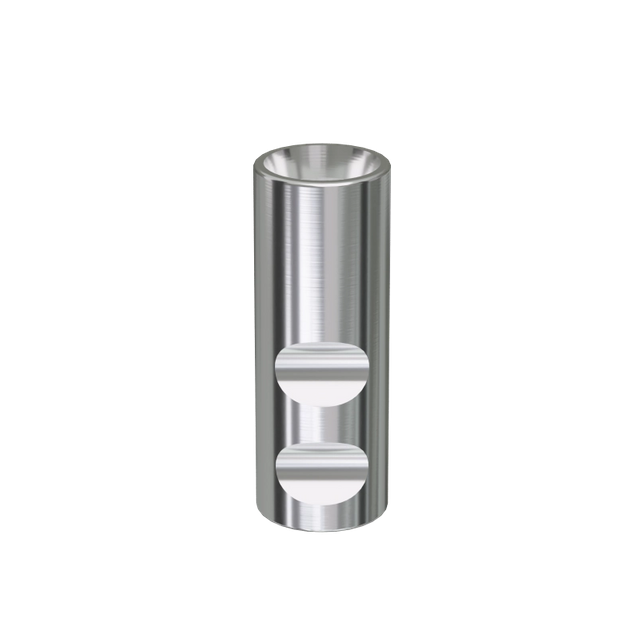
Guide design must account for the physical dimensions of the surgical instruments. Parameters for guide tube offset must match the specific guided surgery kit. Sleeve dimensions, including inner and outer diameters, must be precise. Inspection windows are critical for verifying the complete seating of the guide. Irrigation channels must be incorporated to allow cooling fluid to reach the osteotomy site during drilling. Without proper irrigation windows, the bone will overheat, leading to necrosis and implant failure.
Fabrication: 3D Printing vs. Milling
Fabrication methods impact the speed, cost, and accuracy of the guide. 3D printing technologies like SLA, DLP, and LCD offer rapid production and high resolution. Printing is highly cost-efficient for standard surgical guides. Milling provides superior structural rigidity and predictability for complex cases. Fabrication requires biocompatible resins rated Class I or IIa. Post-processing protocols, including isopropyl alcohol washing and UV curing, are mandatory. Shrinkage compensation must be factored into the digital design to ensure the metal sleeves fit perfectly.
Hardware Tolerances
The accuracy of the final guide depends on hardware calibration. Printer calibration directly impacts the dimensional accuracy of the printed part. Resin shrinkage can alter the friction fit of the metal guide sleeves. If the sleeves are too loose, the drill trajectory will deviate. If the guide shrinks, it will not seat passively on the patient's anatomy. Strict quality control ensures the overall seating of the guide remains accurate. You must calibrate your 3D printer weekly to maintain these tight tolerances.
Phase 5: Pre-Surgical Verification and Lab Communication
Validating Guide Fit
Surgical guides must be validated before the patient arrives. Establish protocols for verifying the printed guide on a master model. This model can be physically poured or 3D-printed from the original scan. Clinicians must check for physical rocking or instability. The guide must demonstrate passive seating without excessive force. Sleeve retention and the accuracy of the guide-sleeve interface must be confirmed to prevent intraoperative complications. If the guide rocks on the model, it will rock in the mouth.
Establishing a Clinic-Lab Feedback Loop
Clear communication between the clinic and lab ensures surgical readiness. The lab must provide comprehensive documentation with the surgical guide. This includes detailed surgical reports and specific drilling protocols. Export files must be shared for clinical review. The workflow often includes pre-milling or 3D-printing provisional restorations. These provisionals are fabricated based on the approved DTP, ensuring they fit perfectly immediately after guided implant placement. The surgeon should never have to guess which drill sequence to use on the day of surgery.
Phase 6: Clinical Execution of the Guided Surgery Workflow
Guide Seating and Stability Verification
Clinical execution begins with the precise seating of the surgical guide. The clinician places the guide over the supporting teeth or tissue. Snug, passive fit is verified visually through the designed inspection windows. The guide must not rock or shift under light pressure. For edentulous or mucosa-supported cases, the guide is secured using fixation or anchor pins. Absolute stability is required before any drilling commences. If you detect any movement, stop and reassess the seating.
Step-by-Step Fully Guided Drilling Protocol
Seat and verify the surgical guide using inspection windows.
Secure the guide with fixation pins if using a mucosa-supported design.
Execute a soft tissue punch directly through the guide sleeve for flapless approaches.
Use a cortical drill to mark the bone and initiate the osteotomy.
Follow the sequential drilling protocol using guided keys to control depth and trajectory.
Apply copious external irrigation to prevent bone overheating within the closed sleeve.
Guided Implant Delivery and Insertion
Implant insertion is the final surgical step in the guided workflow. The implant body is picked up using a guided implant mount or driver. It is inserted directly through the guide sleeve. The sleeve controls the vertical depth of the implant precisely. It also dictates the rotational timing of the implant connection. This ensures the internal hex or conical connection aligns perfectly with the pre-planned prosthetic components. Do not over-torque the implant through the guide, as this can fracture the resin.
Immediate Loading and Prosthetic Delivery
Guided surgery facilitates seamless immediate loading protocols. Following insertion, the pre-planned abutments are attached to the implant. The transition from surgical placement to prosthetic delivery is rapid and predictable. Clinicians use guided prosthetic delivery systems and indexing to transfer the virtual plan to reality. The seating of the provisional restoration is verified radiographically. Occlusal adjustments are minimal because the prosthesis was designed alongside the surgical plan. This is where the upfront planning pays off in massive chair time savings.
Implementation Risks and Troubleshooting
Intraoperative Misfit
Surgical guides occasionally fail to seat correctly on the day of surgery. Clinicians must quickly diagnose the cause of the intraoperative misfit. Uncaptured soft tissue or incomplete seating on distal teeth are common culprits. If the guide cannot be adjusted, the clinician must transition to a freehand approach. In severe cases, the surgery must be aborted. Modifying the guide structure chairside is risky and often compromises the planned trajectory. Never force a guide to seat; you will only introduce massive deviations.
Limited Mouth Opening
Posterior implant placement presents unique spatial challenges. The combined height of the implant, drill, handpiece, and guide sleeve often exceeds the patient's vertical clearance. Strategies for managing limited mouth opening must be planned in advance. Clinicians can use short drills or lateral-access surgical guides. In some cases, a partially guided approach is necessary for posterior sites to accommodate the physical limitations of the patient's anatomy. Always check maximum opening during the initial consultation.
Deviation Management
Understanding the cumulative error chain is vital for patient safety. Errors originate from scan distortion, DTP alignment inaccuracies, 3D print shrinkage, and manual surgical play within the sleeve. These micro-deviations compound during the procedure. Clinicians must maintain safe distances from vital anatomical structures. Planning a safety margin of 1.5mm to 2mm from nerves and adjacent roots mitigates the risk of cumulative deviation. Do not plan an implant right up against the sinus floor without expecting to perforate it.
Conclusion
Audit your current data acquisition hardware to ensure CBCT and IOS accuracy meet guided surgery standards.
Establish a strict digital communication protocol and prescription checklist with your preferred dental laboratory.
Begin implementation with straightforward, single-tooth, tooth-supported cases to build team confidence.
Invest in comprehensive training for your clinical staff regarding guided drilling protocols and troubleshooting.
FAQ
Q: What is the difference between a fully guided and partially guided implant surgery?
A: Fully guided surgery controls the entire osteotomy and implant insertion through a guide sleeve. Partially guided surgery only dictates the trajectory of the initial pilot drill, leaving the subsequent drilling and implant placement to be completed freehand by the clinician.
Q: How accurate is a 3D-printed surgical guide for dental implants?
A: When properly planned and fabricated using calibrated printers, 3D-printed guides are highly accurate. Clinical studies generally show apical deviations of less than 1.5mm and angular deviations of less than 4 degrees compared to the virtual treatment plan.
Q: Can guided surgery be used for full-arch edentulous patients?
A: Yes. Full-arch cases typically utilize mucosa-supported or bone-supported guides. These guides require anchor pins for stability. Dual-scan protocols or photogrammetry are often necessary to accurately capture the tissue and bone topography for edentulous patients.
Q: What files does a dental lab need to design a surgical guide?
A: The laboratory requires DICOM files from a CBCT scan for bone data and STL or PLY files from an intraoral scanner for surface topography. They also need a detailed prescription outlining the implant system, restorative goals, and guide preferences.
Q: How does guided surgery impact the selection of dental implant abutments and prosthetic components?
A: Guided surgery allows clinicians to virtually select and position abutments and prosthetic components before surgery. This prosthetically driven approach ensures the implant is placed in the exact location needed to support the pre-planned restoration optimally.
Q: What causes a surgical guide to not fit during the operation?
A: Misfits are usually caused by inaccurate intraoral scans, uncaptured soft tissue, patient movement during the CBCT, or 3D printer resin shrinkage. Failing to remove temporary restorations or calculus before seating the guide can also prevent a passive fit.
Q: Is a flapless surgical approach always possible with guided surgery?
A: No. While guided surgery facilitates flapless procedures, a flap is required if there is insufficient keratinized tissue, if bone grafting is necessary, or if a bone-supported guide is being utilized for the procedure.